a macro shot is defined as "...photography at 1x magnification and above. Anything less would be defined as "close-ups" rather than "macro". 1x magnification or life-size, is usually written as 1.1. Life-size means that the subject you are photographing appears the exact same size on film as it does in real life. Therefore if a fly is 15mm long, then the image of the fly on film will also be 15mm long." (http://www.shutterfreaks.com/Tips/tomhicksmacros.html)
there are several techniques you can use to create macro images, the first (and most obvious!) being a dedicated macro lens. These can be quite expensive though and there are other, cheaper, options available.

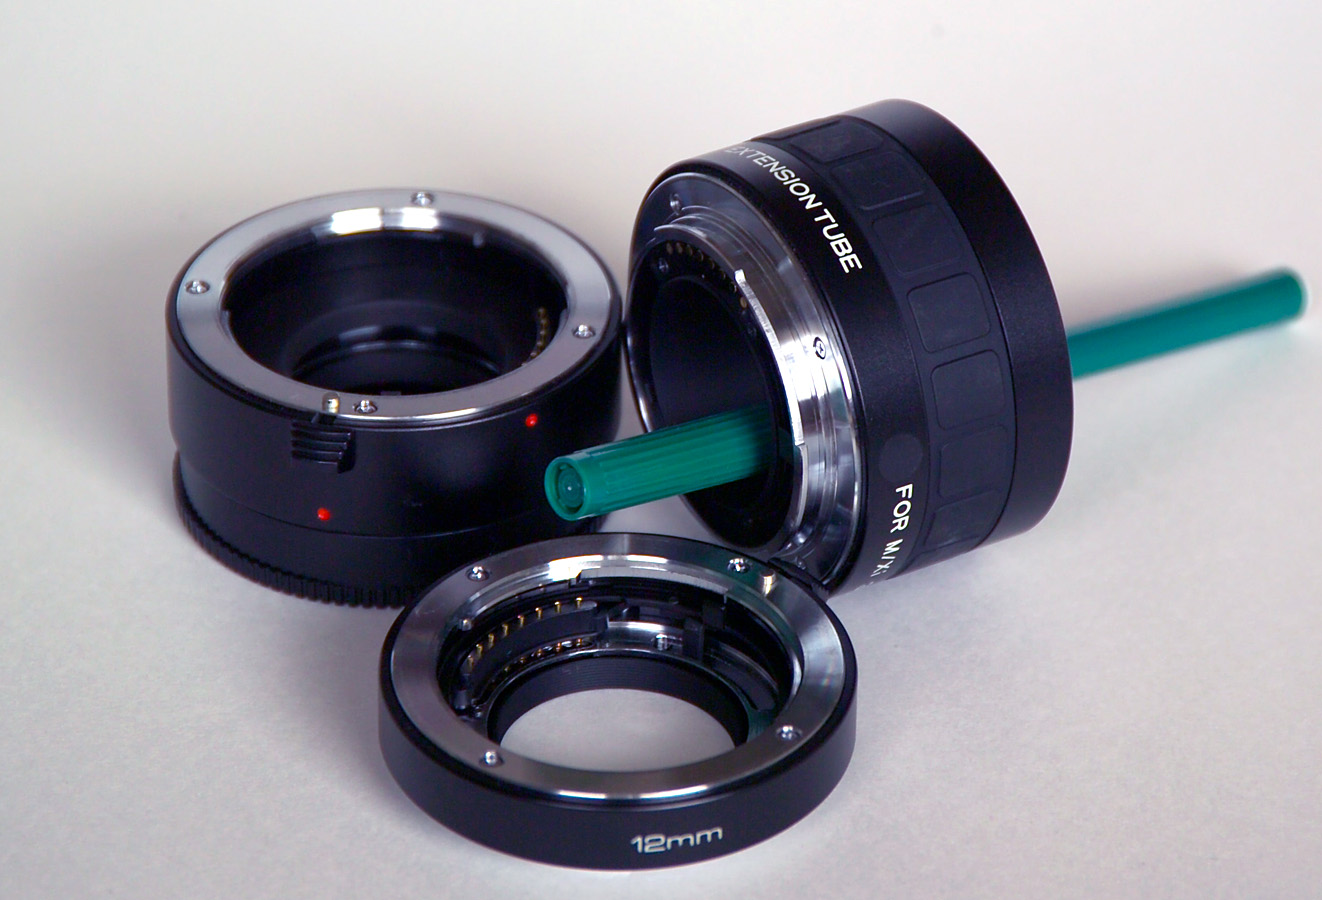
This is a set of extension tubes which are completely free of glass and attach to the camera's body directly, with the lens attaching to the tube. This increases the distance between the lens and the camera, thus increasing the magnification. The one major problem is that with each increase in distance, the more light is lost so if the subject is not well lit, it is nigh on impossible to get a decent shot without using a tripod.

This is a Macro Diopter which, unlike the extension tubes, screws directly onto the front of the cameras lens. This makes them very convenient and, because you can stack the different strengths up, quite powerful too. Because they are not increasing the distance between the lens and the camera, there is very little detraction of light so much better for natural-light shooting, but the extra glass on the front of your lens can degrade the image a little, especially if they are of inferior quality. But overall, they are a cheap and effective way of capturing macro shots, and were what i used on my camera til my recent dedicated lens purchase.
For Andrews class we were asked to photograph something small with a macro lens or one of the adapters above at different apertures to show the difference between the two-one at a small aperture (F11) and one with a large aperture (F2.8 on my lens)
being the gruesome type, i decided to photograph a dead fly :)

you can see on this shot that the depth of field is very very shallow, at only F2.8, with only a small portion of the fly being in focus. This is them main problem of using wide apertures for macro photography, which is why lighting is so important for macro work, so smaller apertures can be used to keep more of the object in focus.
(i also accidentally overexposed the image thanks to the wide aperture, hence the black line at the bottom from adjusting it in lightroom, i decided not to edit it out as i believe mistakes are a huge part of learning!)

this image was shot at F11, giving a much larger depth of field and therefore keeping much more of the fly in focus, its a lot more effective and definitely has more of an impact than the first photo. it was lit using 2 softbox strobes to counteract the smaller aperture. The details on this at 100% are fantastic, right down to the individual hairs on the flys body!
and some other shots taken on the day:


i love this one, it might be of a flys bottom but the shallow DOF works well on this one i think!

jewellery at F2.8

jewellery at F11.
I recently bought my first macro lens, a Tamron 90mm F2.8, and the difference in image quality compared to the screw-in adapters i was using previously is fantastically noticable!
No comments:
Post a Comment